Setting up a workshop shed in your backyard can transform your hobby or craftsmanship into a more serious endeavor. In Australia’s varying climate, creating a space that’s both functional and comfortable requires a bit of planning and insight. From selecting the right location to optimizing your storage, we’ll guide you through six essential tips to establish your perfect workshop shed.
1. Select the Right Location
Choosing an optimal location for your workshop shed is crucial. Consider factors like sunlight, wind direction, and proximity to your home. Ensure there’s enough natural light and shelter from Australia’s often harsh weather conditions. A North-facing orientation can maximize light exposure during winter, while a strategic placement can protect your shed from strong winds. Remember, the location of your shed will affect its accessibility and how often you use it, so think about the convenience of moving work materials in and out.
Also, consider the foundation of your workshop shed. A solid, level base is essential for stability and to prevent water damage. This might mean investing in a concrete slab or designing a raised floor system, depending on the location’s topography and soil type. Taking time to survey your property for the best spot pays off in the long term, saving you from potential environmental damages and ensuring a sturdy base for all your creative endeavors.
2. Ensure Proper Insulation
Effective insulation is key to making your shed usable year-round. It keeps the interior cool during summer and warm in winter, providing a comfortable environment for your projects. Insulation materials suitable for Australian climates include reflective foils, which can efficiently deflect heat, and bulk insulation to keep warmth during cooler months. Additionally, consider insulating the doors and windows with weather strips and using double glazing to further stabilize the internal temperature.
Integrating insulation during the construction phase is more effective than adding it later. Work with your shed’s structure to incorporate these materials into the walls, roof, and floor. A well-insulated workshop not only offers comfort but can also reduce energy costs significantly. Whether you’re sawing through the summer or carving in the cold, a temperature-controlled environment will ensure your focus remains solely on the craft at hand.
3. Invest in Quality Tools and Storage
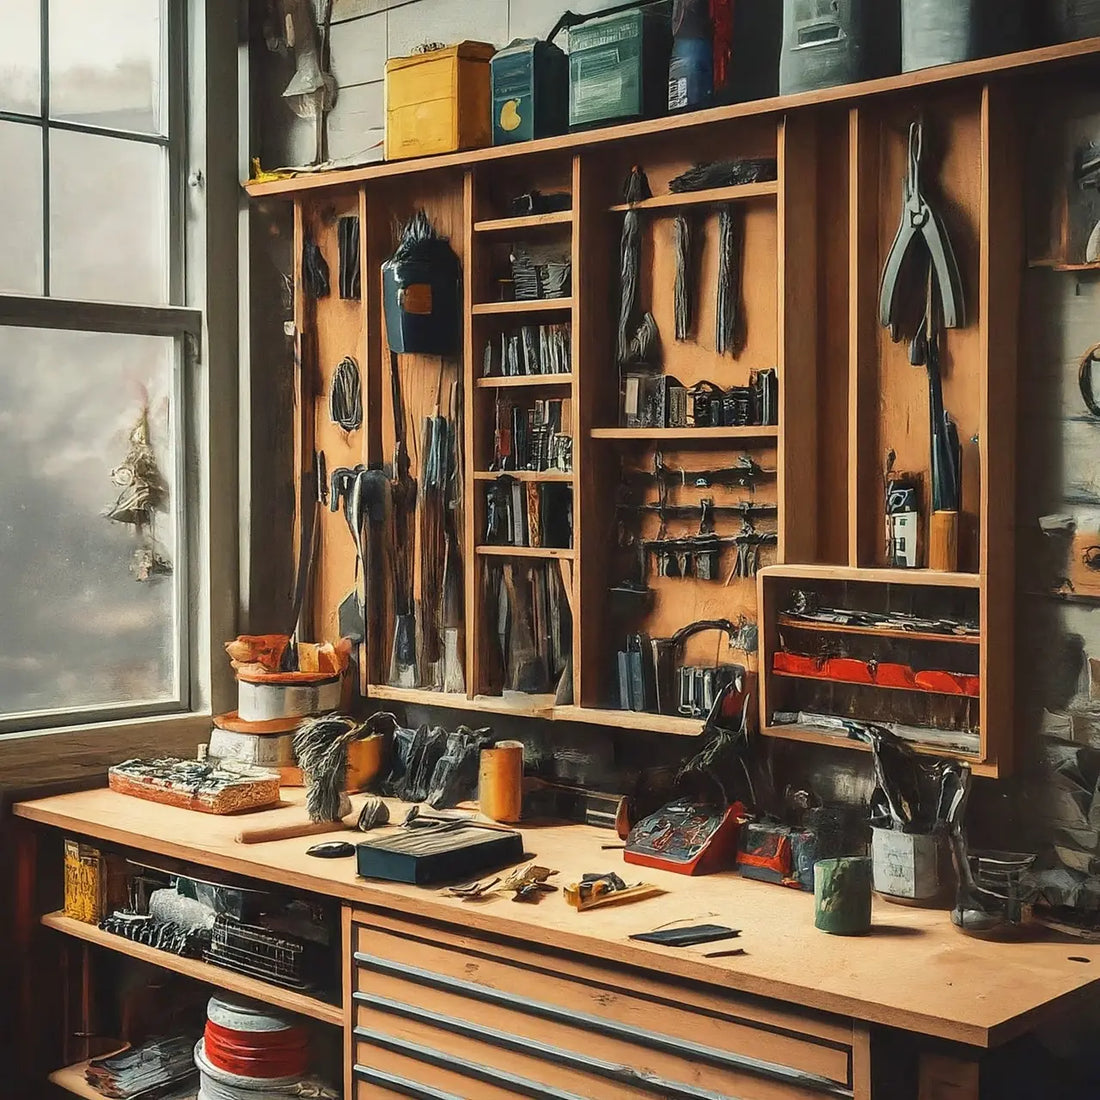
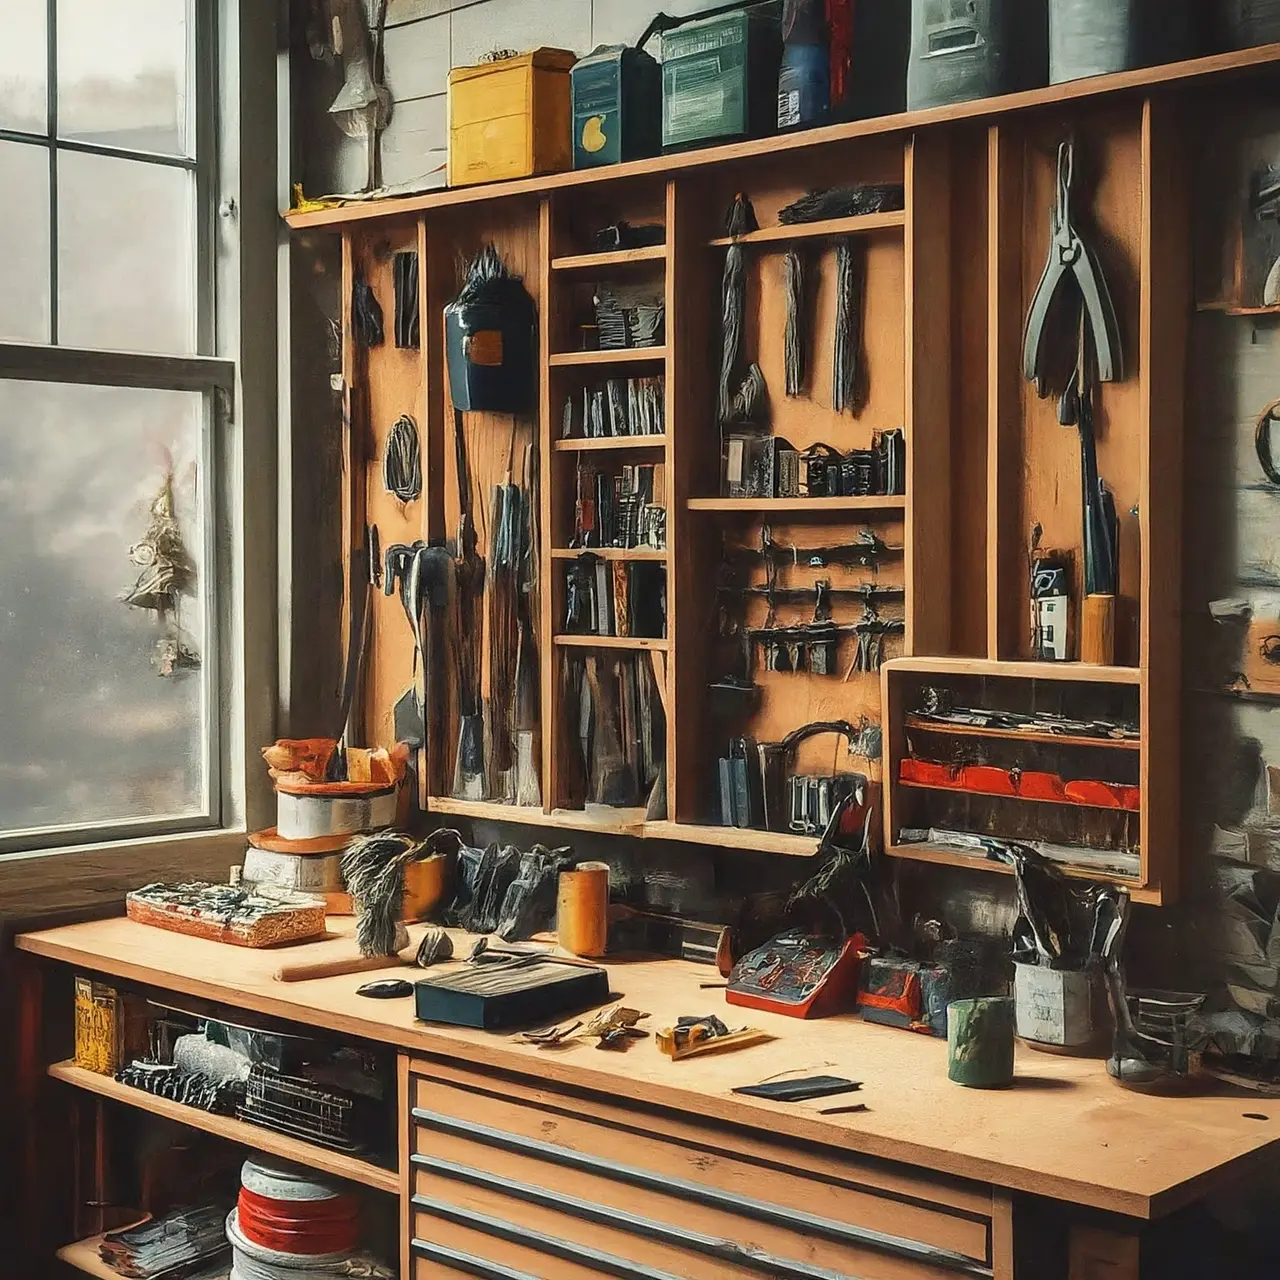
Quality tools warrant quality storage solutions. Opt for durable, space-efficient storage to keep tools organized and accessible. Think vertical with wall-mounted racks and shelves to maximize space. Modular storage systems can be tailored to fit your unique tool collection and workshop size. Drawer organizers, pegboards, and magnetic strips are also excellent for keeping smaller tools within reach while maintaining a tidy workspace.
Investing in high-quality tools can be expensive, but it pays off in the longevity and reliability they offer. Regular maintenance of your tools is also crucial for their performance and lifespan. Set aside a designated area in your workshop for cleaning and maintaining your tools. This habit will not only preserve your tools but also engrain a sense of discipline and respect for your craft.
4. Maximize Natural Light and Ventilation
Natural light and good ventilation are essential for any workshop. Consider adding skylights or large windows, and ensure there’s adequate airflow to handle dust and fumes comfortably. Placement of windows can influence not just light but also cross-ventilation. Opt for openings on opposite sides of the shed to promote air circulation. During planning, think about the direction of prevailing breezes and position your shed openings to take full advantage.
Furthermore, adequate external lighting can extend the usability of your shed into the evening. Solar-powered lights are an eco-friendly option that can illuminate paths to and from your shed. Within the workshop, installing task lighting over workbenches and machinery can prevent eye strain and improve precision in your work. A combination of natural and artificial light ensures that your workshop is a productive space at all hours.
5. Keep Safety in Mind
A safe workshop is a productive workshop. Equip your shed with fire extinguishers, first aid kits, and ensure all electrical installations are professionally done to meet safety standards. It’s also wise to consider flooring materials that are resistant to slips and falls. Non-slip mats and proper footwear can minimize accidents. Good housekeeping practices, such as keeping walkways clear and storing sharp tools securely, further reduce the risk of injuries.
Understanding and respecting the machinery and tools you work with is fundamental to safety. Regular checks and maintenance of electrical equipment can prevent malfunctions and accidents. Incorporating safety into the design of your workshop, such as having a well-organized layout and clear emergency exits, can make a significant difference in preventing and responding to emergencies.
6. Personalize Your Space
Finally, add personal touches to make the space truly yours. Whether it’s through the choice of paint, decorations, or layout, customizing your shed can boost creativity and enjoyment in your workshop. Incorporate elements that inspire you, whether that’s posters of your favorite designs, a sound system for music, or a comfortable chair for those moments of reflection and planning. Your workshop should be a reflection of your personality and a space where you feel motivated and inspired.
Remember, the journey of creating your perfect workshop shed is as important as the destination. While functionality is key, allowing room for growth and adaptation will enable your workspace to evolve with your interests and skills. Personalizing your shed doesn’t have to be expensive; it’s about creating a space that feels right for you. As your craft develops, so too will your workshop, becoming a testament to your creativity and hard work.


